

If you’ve been buying canned apple pie filling, it’s time to discover how ridiculously easy (and delicious) the homemade version really is.
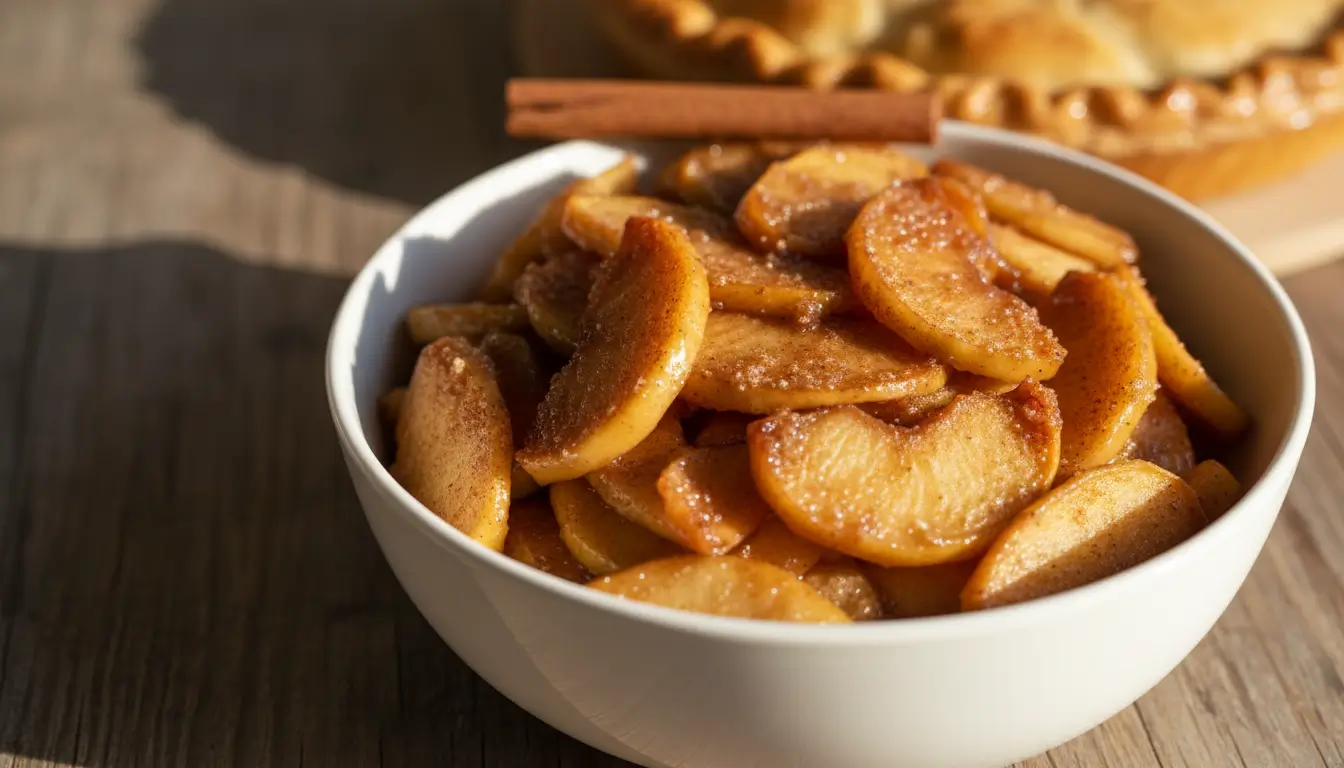
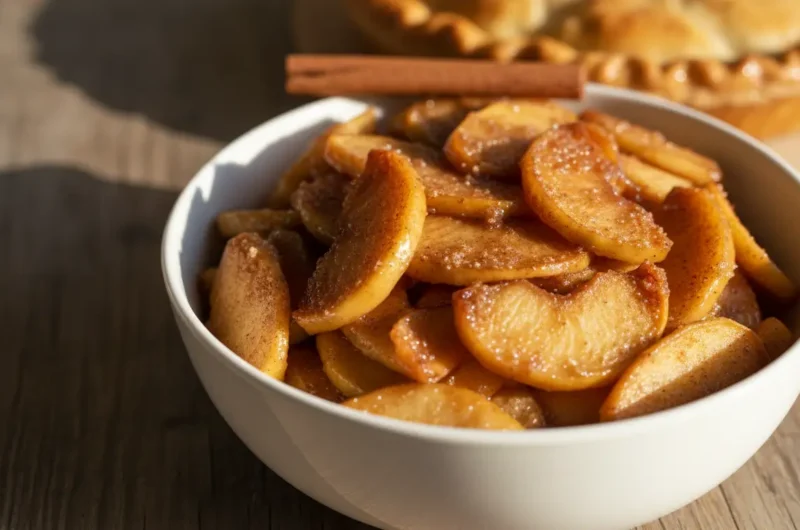
This apple pie filling recipe transforms fresh apples into a perfectly spiced, sweet-tart filling that beats anything you’ll find in a can. We’re talking tender apple slices coated in a glossy cinnamon sauce that’s not too thick, not too runny — just right for pies, crisps, cakes, or spooning straight over vanilla ice cream.
The best part? You only need 8 simple ingredients and about 20 minutes of stovetop time. No special equipment, no canning process (unless you want to), and no artificial preservatives or weird additives. Just real apples, butter, sugar, and warm spices that make your kitchen smell like fall.
Whether you’re baking a classic apple pie for Thanksgiving, making apple hand pies for a weekend treat, or stocking your freezer with ready-to-use filling, this recipe delivers consistent, crowd-pleasing results every single time.
Ready to make apple pie filling that’ll have everyone asking for your secret? Let’s get started with the easiest homemade filling you’ll ever make.
Table of Contents
Why You’ll Love This Homemade Apple Pie Filling
This isn’t just another apple pie filling recipe — it’s the one you’ll use for every apple dessert from now on.
Tastes infinitely better than canned. Fresh apples with real butter and spices create flavor canned versions can’t match.
Ready in 20 minutes. Faster than driving to the store for canned filling, and infinitely more delicious.
Perfectly balanced texture. Tender apple slices that hold their shape, coated in a glossy, thickened sauce.
Naturally customizable. Adjust sweetness, spice level, and apple variety to your exact preference.
Freezer-friendly for months. Make big batches and store for up to 3 months for instant dessert prep.
Multi-purpose wonder. Use it in pies, tarts, crisps, turnovers, crepes, oatmeal, yogurt, or straight on ice cream.
No weird ingredients. You control what goes in — no high fructose corn syrup or artificial thickeners.
This easy apple pie filling recipe proves that homemade doesn’t have to be complicated to be exceptional.
Best Apples for Pie Filling
Not all apples are created equal when it comes to baking. Here’s what you need to know:
The best apple pie filling uses firm, tart apples that hold their shape during cooking. Granny Smith apples are the classic choice — their tartness balances sweetness perfectly and they don’t turn mushy when cooked.
But here’s the secret many bakers use: mix two or three varieties for more complex flavor. Try combining Granny Smith for tartness, Honeycrisp for sweetness and juice, and Braeburn or Jonagold for depth. This creates layers of apple flavor that single-variety fillings can’t achieve.
Best apples for pie filling:
- Granny Smith (tart, firm, classic choice)
- Honeycrisp (sweet, juicy, holds shape well)
- Braeburn (balanced sweet-tart, excellent texture)
- Jonagold (sweet with slight tang, great for mixing)
- Pink Lady (crisp, tart-sweet balance)
- Golden Delicious (mild sweetness, stays firm)
Avoid these apples:
- Red Delicious (too soft, bland flavor)
- McIntosh (breaks down too quickly)
- Gala (can get mushy when cooked)
For the absolute best results, use a mix of 60% tart apples (like Granny Smith) and 40% sweet apples (like Honeycrisp or Jonagold). This combination gives you perfect sweet-tart balance with ideal texture.
Apple Pie Filling Recipe – Easy Homemade from Scratch
Course: DessertCuisine: AmericanDifficulty: Easy4
cups10
minutes15
minutes180
kcal25
minutesThis homemade apple pie filling recipe features tender spiced apples in a perfectly thickened sauce. Use it fresh, refrigerate, or freeze for later.
Ingredients
For the Apple Filling:
6-7 medium apples (about 2½ pounds), peeled, cored, and sliced ¼-inch thick
2 tablespoons fresh lemon juice
¼ cup unsalted butter
⅓ cup granulated sugar
⅓ cup packed light brown sugar
¼ cup water
1½ teaspoons ground cinnamon
½ teaspoon apple pie spice (or ¼ tsp nutmeg + ⅛ tsp allspice)
¼ teaspoon salt
2 tablespoons cornstarch
2 tablespoons water (for cornstarch slurry)
1 teaspoon vanilla extract
Directions
- Prep the apples. Peel, core, and slice apples into ¼-inch thick slices. Place in a large bowl and toss with lemon juice to prevent browning. Set aside.
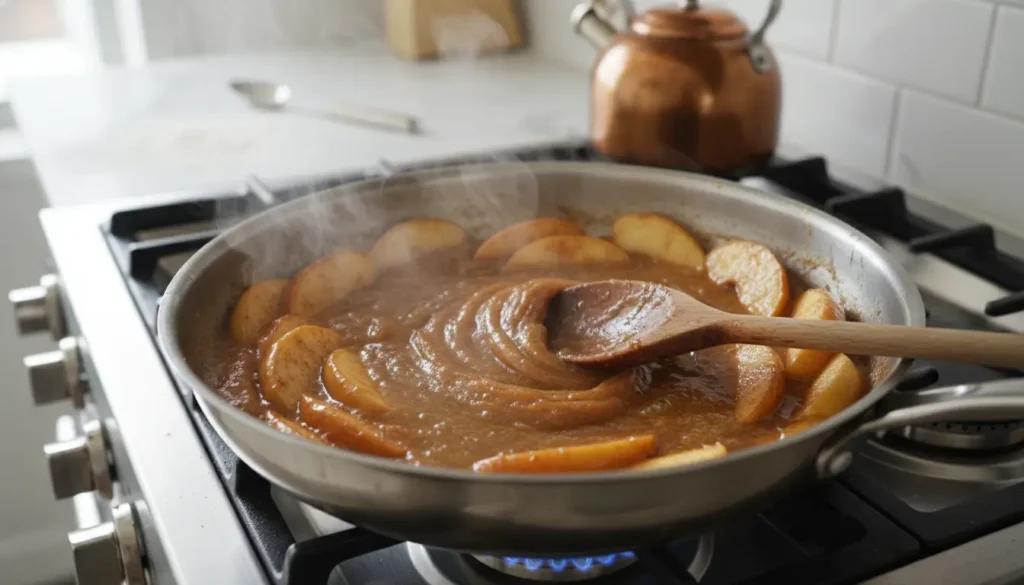
- Make the base. In a large skillet or wide pot, melt butter over medium heat. Add granulated sugar, brown sugar, ¼ cup water, cinnamon, apple pie spice, and salt. Stir until sugars dissolve and mixture is smooth, about 2 minutes.
- Cook the apples. Add the apple slices to the skillet and stir gently to coat with the sugar mixture. Cover and cook over medium heat for 5-7 minutes, stirring occasionally, until apples begin to soften but still hold their shape.
- Thicken the filling. In a small bowl, whisk together cornstarch and 2 tablespoons water until smooth with no lumps. Pour the cornstarch slurry over the apples while stirring gently.
- Finish cooking. Continue cooking uncovered for 2-3 minutes, stirring gently, until the sauce thickens and becomes glossy and the apples are tender but not mushy. Remove from heat and stir in vanilla extract.
- Cool completely. Transfer filling to a heat-safe bowl and let cool to room temperature before using in pie (this prevents soggy crust). If using immediately in a dessert like crisp, you can use it warm.
Recipe Video
Notes
- Apple variety: Best results come from mixing tart and sweet apples (see section above for recommendations).
- Slice thickness: Keep slices uniform at ¼-inch for even cooking. Too thick and they won’t soften; too thin and they’ll turn mushy.
- Cornstarch substitute: Use 3 tablespoons of Clear Jel if canning the filling. Regular cornstarch breaks down during the canning process.
- Make-ahead: Refrigerate in airtight container for up to 5 days.
- Freezing: Cool completely, transfer to freezer bags or containers, and freeze for up to 3 months. Thaw overnight in refrigerator before using.
- Canning: For long-term shelf storage, use proper canning procedures with Clear Jel thickener (not cornstarch).
Nutrition Information (per ½ cup serving)
- Calories: 180 kcal
- Protein: 0g
- Fat: 6g
- Carbohydrates: 33g
- Fiber: 3g
- Sugar: 27g
- Sodium: 80mg

Expert Tips for Perfect Apple Pie Filling
Even the simplest apple pie filling recipe benefits from a few insider tricks.
1. Don’t Skip the Lemon Juice
Lemon juice does three things: prevents browning, balances sweetness, and brightens apple flavor. Fresh lemon juice works best, but bottled is fine in a pinch.
2. Cook Until Just Tender
Your apples should be tender but still hold their shape. If making filling for a pie that will bake further, cook them to just barely tender (they’ll finish cooking in the oven). For immediate use like crisp topping, cook until fully tender.
3. Mix Your Cornstarch Slurry Well
Lumpy cornstarch creates lumpy filling. Whisk the cornstarch and water thoroughly until completely smooth before adding to the hot apples.
4. Cool Completely for Pie
If using this filling in a pie with crust, let it cool to room temperature first. Hot filling makes crusts soggy and can cause bottom crusts to remain raw.
5. Adjust Sweetness Based on Apples
Tart apples like Granny Smith need the full amount of sugar. If using sweeter varieties, reduce sugar by 2-3 tablespoons and taste as you go.
6. Don’t Overcook
Mushy apples make mediocre filling. Watch carefully during the last few minutes of cooking and remove from heat when apples are tender but not falling apart.
Creative Ways to Use Apple Pie Filling
This versatile apple pie filling recipe goes way beyond traditional pie. Pair it with our fluffy gluten-free buttermilk biscuits for a Southern-style apple cobbler, or use it as a topping for breakfast alongside our collection of easy chicken thigh recipes for a sweet-and-savory brunch spread. Here’s how to use every batch:
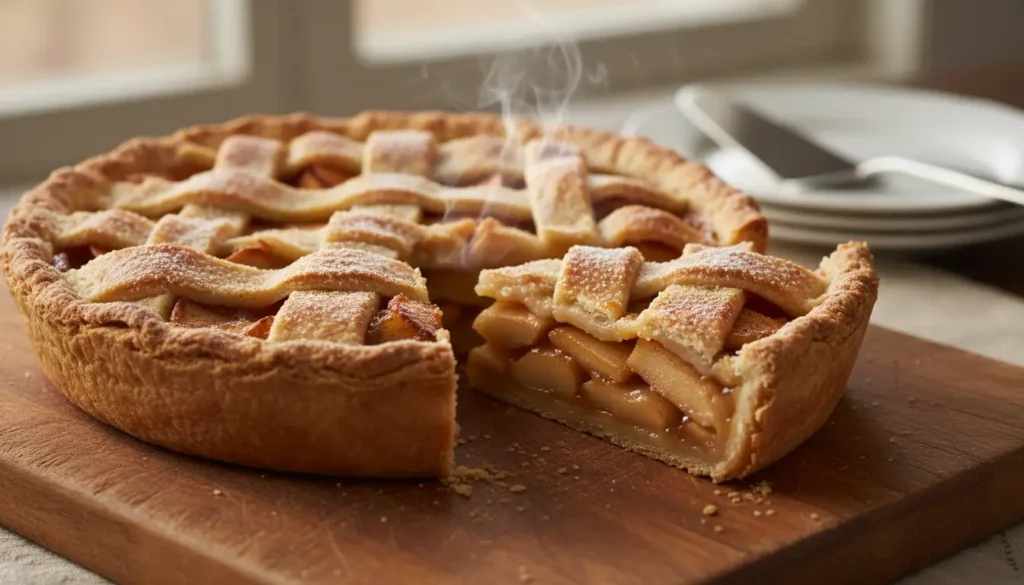
Classic Apple Pie
The obvious choice, and it’s perfect. Pour cooled filling into your favorite pie crust, top with second crust or lattice, and bake at 425°F for 40-45 minutes until golden.
Apple Crisp or Crumble
Spread warm filling in a baking dish, top with oat crumble topping, and bake until bubbly and golden. Serve with vanilla ice cream.
Apple Turnovers
Spoon filling onto puff pastry squares, fold into triangles, seal edges, and bake for handheld apple pies that are perfect for breakfast or dessert.
Pancake or Waffle Topping
Warm filling makes an incredible topping for weekend breakfast. Skip the syrup and pile on the apples.
Ice Cream Topping
Warm or cold, this filling is phenomenal spooned over vanilla ice cream, frozen yogurt, or even cheesecake.
Apple Cake Filling
Use between cake layers or swirl into pound cake or coffee cake batter before baking for pockets of apple goodness.
Oatmeal or Yogurt Mix-In
Stir a spoonful into morning oatmeal or Greek yogurt for instant fall flavor and natural sweetness.
Apple Hand Pies
Perfect for individual servings — fill hand pie dough rounds, crimp edges, and bake or fry for portable treats.
Storage, Freezing & Canning Guide
One of the best features of this apple pie filling recipe is how well it stores for future use.
Refrigerator Storage
Cool filling completely and transfer to airtight containers. Refrigerate for up to 5 days. The filling may thicken further as it sits — simply stir before using.
Freezer Storage
This is the best method for long-term storage. Cool filling completely, then transfer to freezer-safe bags or containers. Remove as much air as possible and freeze flat for easy stacking. Label with date and contents. Freeze for up to 3 months.
To use: Thaw overnight in refrigerator. If the filling seems watery after thawing, heat gently in a saucepan over low heat and stir until it comes back together.
Canning for Pantry Storage
If you want shelf-stable filling, you’ll need to use proper canning procedures. Replace cornstarch with Clear Jel (cook-type), which remains stable through the canning process. Follow USDA-approved canning guidelines for apple pie filling,If you want shelf-stable filling, you’ll need to use proper canning procedures. Replace cornstarch with Clear Jel (cook-type), which remains stable through the canning process. For detailed, safe canning instructions and processing times, the National Center for Home Food Preservation’s apple pie filling guide provides USDA-approved methods.
Make-Ahead Tips
Prepare filling 1-2 days before using in recipes. This actually improves flavor as the spices have time to blend. Store in the refrigerator and bring to room temperature before using in pies.
Frequently Asked Questions
Can I use pre-sliced apples?
Yes, but fresh-cut apples give better texture and flavor. If using pre-sliced, make sure they’re not browning or drying out, and reduce cooking time slightly as they may be thinner.
Why is my filling watery?
This usually happens if apples weren’t cooked long enough to release their juices before thickening, or if the cornstarch slurry wasn’t mixed properly. Make sure to cook until bubbly and thickened, and whisk cornstarch thoroughly before adding.
Can I reduce the sugar?
Yes, you can reduce by 2-4 tablespoons if using sweet apples or prefer less sweetness. Keep in mind that sugar also helps create the syrupy texture, so reducing too much may affect consistency.
Do I have to peel the apples?
For traditional smooth filling, yes. Apple peels can be tough and chewy when cooked. If you don’t mind the texture, you can leave them on for extra fiber and nutrients.
Can I make this with frozen apples?
Yes, but thaw and drain them first. Frozen apples release more liquid, so you may need to add an extra tablespoon of cornstarch to achieve proper thickness.
What can I use instead of cornstarch?
Tapioca starch or arrowroot powder work in equal amounts. For canning, use Clear Jel (cook-type). Flour can work but creates a cloudier, less glossy filling.
How do I know when the filling is thick enough?
The mixture should coat a spoon and be glossy, not watery. When you drag a spatula through it, it should hold its shape for a moment before flowing back together.
The Science Behind Perfect Apple Pie Filling
Understanding why this apple pie filling recipe works helps you get perfect results every time.
Lemon juice prevents enzymatic browning — when apples are cut, enzymes react with oxygen causing brown discoloration. Acidic lemon juice slows this reaction, keeping apples looking fresh and bright.
Cornstarch creates the glossy, thickened sauce — when heated with liquid, cornstarch granules absorb water and swell, creating a gel-like consistency that coats apples beautifully. This is why you must cook it long enough to activate the thickening.
Butter adds richness and helps apples cook evenly — fat conducts heat better than water alone, ensuring even cooking. It also adds flavor and helps create that silky texture.
Cooking with sugar draws out apple juices — sugar is hygroscopic, meaning it pulls moisture from the apples through osmosis. This creates the sauce base that gets thickened by cornstarch.
Gentle cooking preserves apple structure — cooking at medium (not high) heat allows apples to soften gradually without breaking down completely. The pectin in apple cell walls softens just enough to become tender while maintaining shape.
This combination of science and technique creates filling with tender fruit pieces suspended in perfectly thickened, glossy sauce — exactly what great apple pie filling should be.
Why Homemade Beats Canned Every Time
Once you make this apple pie filling recipe from scratch, you’ll never go back to canned.
Fresh apples have actual apple flavor — bright, sweet-tart, and complex. Canned versions taste flat and overly sweet with a metallic aftertaste from the can. You control the texture — cook apples exactly as soft or firm as you prefer, rather than accepting mushy canned consistency. Real ingredients mean real flavor — butter, fresh lemon, quality cinnamon versus preservatives, artificial thickeners, and high fructose corn syrup.
It’s also surprisingly economical — a batch costs about the same as two cans but tastes exponentially better. Plus, you can make exactly the amount you need without waste.
Most importantly, homemade filling fills your kitchen with the warm, spicy aroma that canned versions simply can’t deliver. That smell alone makes it worth the extra 20 minutes.
This apple pie filling recipe is proof that some shortcuts aren’t worth taking. When something this good is this easy to make, why settle for less?
Made this recipe? Rate it below and let me know how you used your apple pie filling! I love hearing your creative variations and baking adventures.