

If you’re halfway through a recipe and realize you don’t have self rising flour, this self rising flour recipe is the kitchen hack that saves the day every single time.
Three ingredients. Two minutes. That’s all it takes to make your own self rising flour at home that works exactly like the store-bought version — no trip to the store, no wasted time, no ruined recipes.
Self rising flour is simply all-purpose flour with baking powder and salt already mixed in. It’s used in countless recipes for biscuits, pancakes, muffins, quick breads, and cakes because it removes the need to measure leavening separately and gives you consistent, reliable results every time you bake.
Once you know this simple formula, you’ll never need to buy a dedicated bag of self rising flour again.
Table of Contents
Why You’ll Love This Self Rising Flour Recipe
Only 3 ingredients. All-purpose flour, baking powder, and salt — already in your pantry.
Ready in 2 minutes. Faster than a trip to the store.
Works exactly like store-bought. Perfect 1:1 substitute in any recipe.
Save money. No need to buy a separate bag that sits in your pantry for months.
Scale up easily. Make a single cup or a whole batch to store.
Naturally halal. All three ingredients are 100% plant-based and halal-friendly.
What Is Self Rising Flour?
Self rising flour is all-purpose flour that has baking powder and salt pre-mixed in. When you add it to a recipe, the baking powder acts as a leavening agent — releasing carbon dioxide bubbles when it comes into contact with moisture and heat, which causes your baked goods to rise.
It’s especially popular in Southern American baking, where it’s the standard flour for fluffy biscuits, tender pancakes, and light quick breads. The pre-mixed formula ensures consistent leavening every time without needing to measure and add baking powder separately.
The only difference between self rising flour and all-purpose flour is those two added ingredients — baking powder and salt. That’s it.
For a deeper understanding of how baking powder works as a leavening agent and why the ratio matters in different recipes, King Arthur Baking’s complete guide to homemade self rising flour explains the science behind leavening and how to use it correctly in any baking recipe.
The Formula (Per 1 Cup)
This is the key ratio to memorize:
1 cup all-purpose flour + 1½ teaspoons baking powder + ¼ teaspoon salt = 1 cup self rising flour
That’s the entire recipe. Scale it up or down based on how much you need.
Self Rising Flour Recipe
Self Rising Flour Recipe – Make It at Home in 2 Minutes
Course: Pantry Staple, Baking BasicCuisine: AmericanDifficulty: Easy1
cup2
minutes455
kcal1
hour10
minutesThis simple self rising flour recipe uses just 3 pantry ingredients to make a perfect homemade substitute for store-bought self rising flour — ready in 2 minutes.
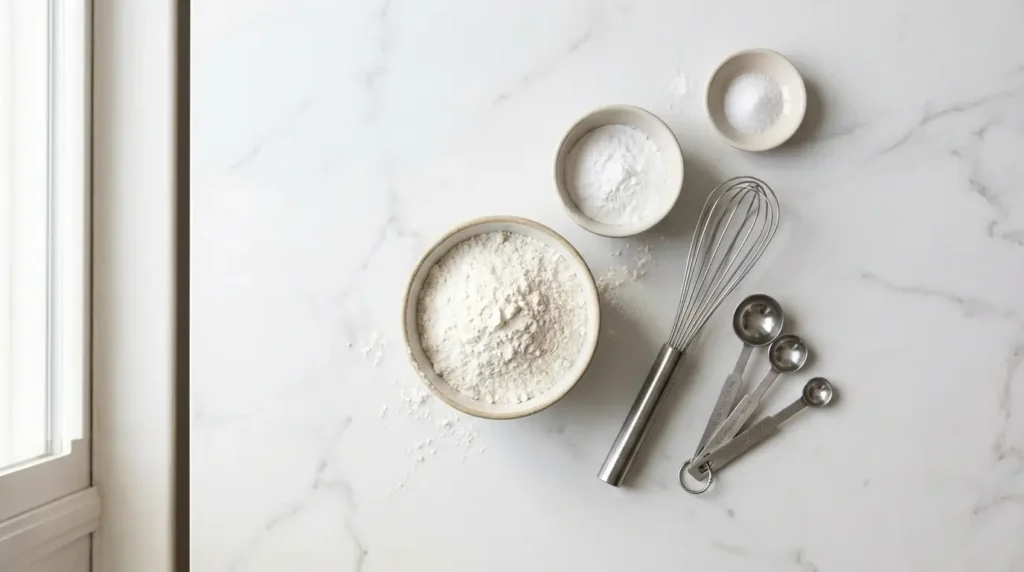
Ingredients
For 1 cup of self rising flour:
1 cup (120g) all-purpose flour
1½ teaspoons baking powder
¼ teaspoon fine salt
For a large batch (4 cups):
4 cups (480g) all-purpose flour
2 tablespoons baking powder
1 teaspoon fine salt
Directions
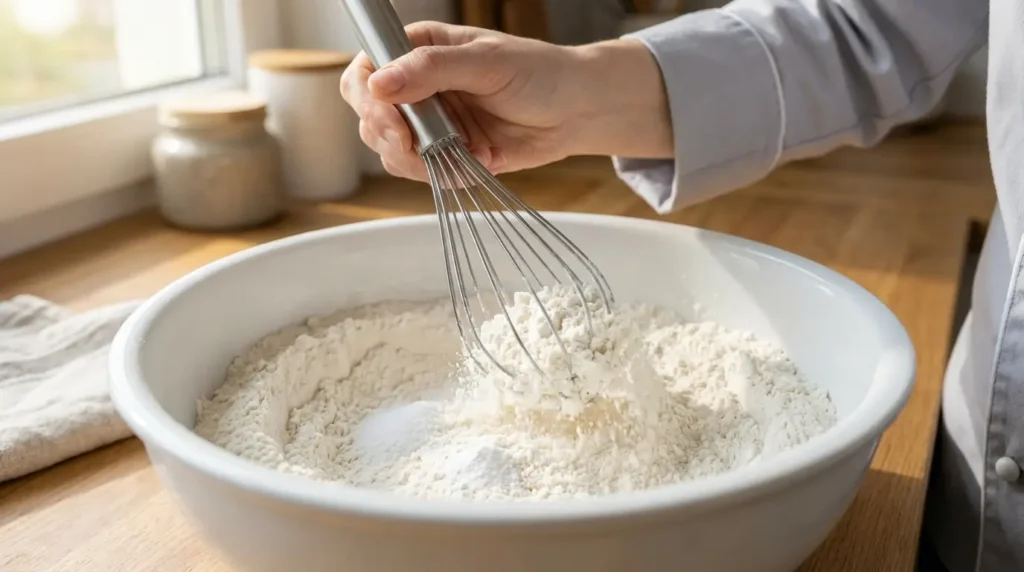
- Measure the flour. Spoon the all-purpose flour into your measuring cup and level it off with a straight edge. Never scoop directly from the bag — this packs the flour and adds too much.
- Add the baking powder and salt. Add the baking powder and salt directly to the flour.
- Whisk together. Whisk everything together thoroughly until the baking powder and salt are completely and evenly distributed throughout the flour. No streaks or clumps should remain.
- Sift (optional but recommended). Pour the mixture through a fine mesh sieve or flour sifter into a clean bowl. This ensures perfect, even distribution and removes any lumps.
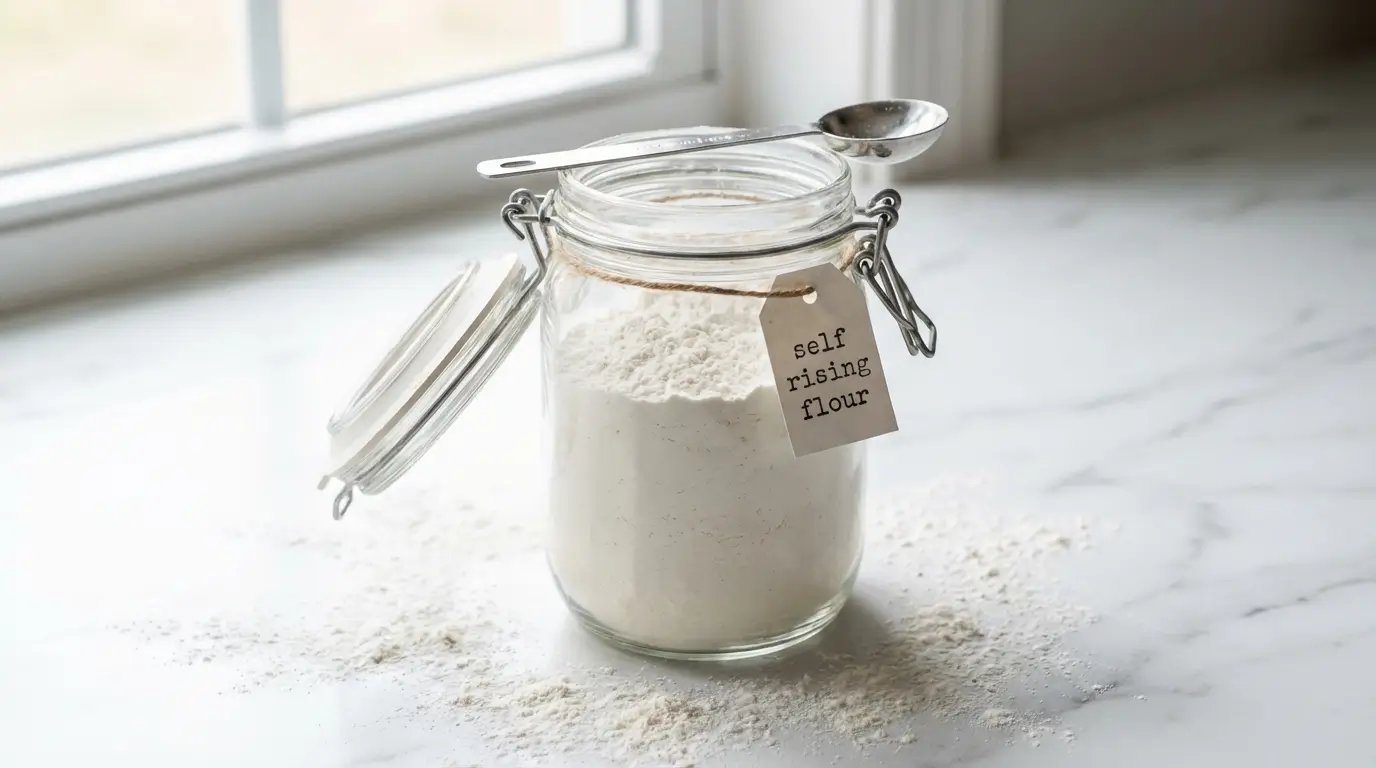
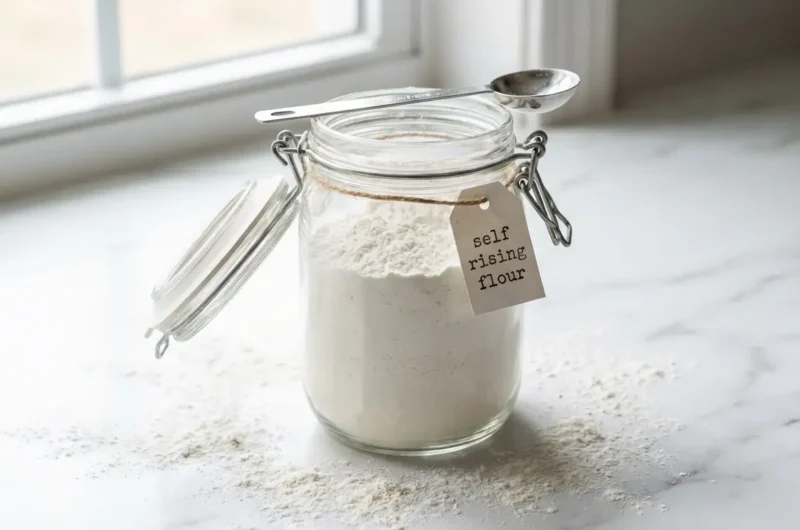
- Use immediately or store. Use right away in your recipe, or transfer to an airtight container or jar for future use. Label with the date.
Recipe Video
Notes
- Measure flour correctly. Spoon into the measuring cup and level off — never scoop. Incorrect flour measurement is the most common baking mistake.
- Use fresh baking powder. Old baking powder loses its potency and your baked goods won’t rise properly. To test if yours is still active, drop a teaspoon into hot water — it should bubble vigorously. If it doesn’t, replace it.
- Whisk thoroughly. The baking powder must be completely and evenly distributed throughout the flour. Uneven mixing means some parts of your baked goods rise more than others.
- Don’t substitute baking soda. Baking soda is not the same as baking powder and cannot be used as a direct substitute. They react differently and require different amounts.
- Use fine salt only. Coarse salt doesn’t distribute evenly. Use fine table salt or fine sea salt.
Nutrition Information (per 1 cup / 120g)
- Calories: 455 kcal
- Carbohydrates: 95g
- Protein: 13g
- Fat: 1g
- Fiber: 3g
- Sodium: 580mg
Quick Reference Conversion Chart
| Self Rising Flour Needed | All-Purpose Flour | Baking Powder | Salt |
|---|---|---|---|
| 1 cup | 1 cup | 1½ tsp | ¼ tsp |
| 2 cups | 2 cups | 1 tbsp | ½ tsp |
| 3 cups | 3 cups | 1½ tbsp | ¾ tsp |
| 4 cups | 4 cups | 2 tbsp | 1 tsp |
How to Convert Recipes
If a Recipe Calls for Self Rising Flour but You Only Have All-Purpose:
Add 1½ teaspoons baking powder and ¼ teaspoon salt per cup of all-purpose flour called for in the recipe. Reduce or omit any additional salt in the recipe to avoid over-salting.
If a Recipe Calls for All-Purpose Flour but You Only Have Self Rising:
Use the self rising flour but reduce the baking powder in the recipe by 1½ teaspoons and the salt by ¼ teaspoon per cup of flour used. If no baking powder is called for, self rising flour may not be a suitable substitute for that recipe.
Expert Tips
1. Always Test Your Baking Powder
Fresh baking powder is critical. Drop half a teaspoon into a cup of hot water — if it bubbles aggressively, it’s good. If nothing happens, buy a new can. Expired baking powder is the number one reason baked goods come out flat.
2. Sift for Better Results
Sifting the finished mixture aerates the flour and ensures the baking powder is perfectly distributed. For fluffy biscuits and light pancakes, this extra step makes a real difference.
3. Store Properly
Store homemade self rising flour in an airtight glass jar or container in a cool, dry place away from heat and moisture. Label clearly with the date made so you know when to refresh it.
4. Don’t Overmake
Only make as much as you’ll use within 6 months. Baking powder loses potency over time, so a very old batch of self rising flour won’t give you the rise you expect.
5. Cake Flour Variation
For extra-tender baked goods like cakes and muffins, substitute 1 tablespoon of cornstarch per cup of all-purpose flour before adding the baking powder and salt. This lowers the protein content and gives a softer, more delicate crumb.
What to Make With Self Rising Flour
Self rising flour is the star ingredient in dozens of beloved recipes.
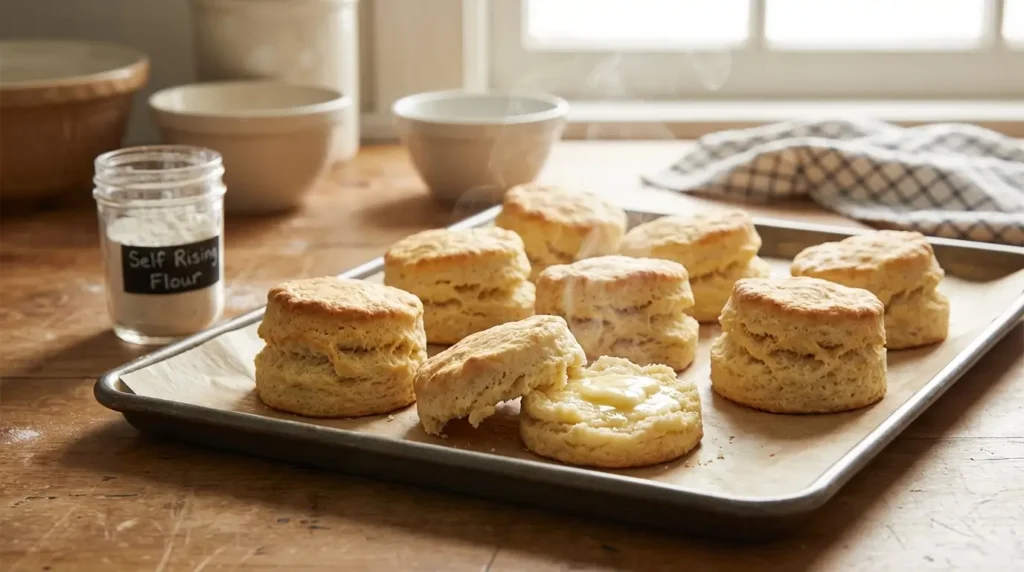
Fluffy Buttermilk Biscuits — The most classic use. Self rising flour gives you tall, fluffy, tender biscuits with almost no effort.
Pancakes — Light, airy pancakes that rise beautifully without needing extra leavening.
Muffins — Use in place of all-purpose flour plus baking powder for consistently fluffy muffins.
Quick Breads — Banana bread, zucchini bread, and cornbread all benefit from self rising flour.
Waffles — Gives you extra-light, crispy waffles every time.
Flatbreads and Wraps — Mix with yogurt for a quick, no-yeast flatbread that comes together in minutes.
Our Butter Cookie Recipe — Use self rising flour in our Butter Cookie Recipe for an even lighter, more tender cookie texture.
Frequently Asked Questions
Is self rising flour the same as self raising flour?
Yes — they are the same thing. “Self rising” is the American term and “self raising” is the British/Australian term. Both refer to all-purpose flour pre-mixed with baking powder and salt.
Can I use self rising flour for bread?
Generally no. Most bread recipes rely on yeast for leavening, and the baking powder in self rising flour doesn’t work the same way. Use it for quick breads, biscuits, and pancakes — not yeast-leavened bread.
Why did my baked goods turn out flat?
Either your baking powder is expired, the baking powder wasn’t evenly distributed, or you used too little. Always test your baking powder before using and whisk the mixture thoroughly.
Can I use self rising flour to make a cake?
Yes! Many simple cake recipes use self rising flour. Just omit or reduce any additional baking powder and salt called for in the recipe to compensate.
Does homemade self rising flour taste different from store-bought?
No — when made correctly, homemade self rising flour performs and tastes identical to store-bought versions in baked recipes.
How long does homemade self rising flour last?
Up to 6 months in an airtight container stored in a cool, dry place. After that, the baking powder begins to lose potency.
Can I make self rising whole wheat flour?
Yes! Use whole wheat flour instead of all-purpose flour with the same ratio of baking powder and salt. Note that whole wheat flour produces a denser, nuttier result.
The One Kitchen Hack Every Baker Needs
This self rising flour recipe is one of those fundamental kitchen skills that saves you time, money, and stress every single time you bake.
Three ingredients, two minutes, and you’ll never be caught mid-recipe without the flour you need again. Keep a jar of it in your pantry, refresh it every six months, and it’ll be there every time a recipe calls for it.
Simple, reliable, and endlessly useful — just the way the best kitchen basics should be.
Found this helpful? Rate it below and tell me what you made with your self rising flour!