


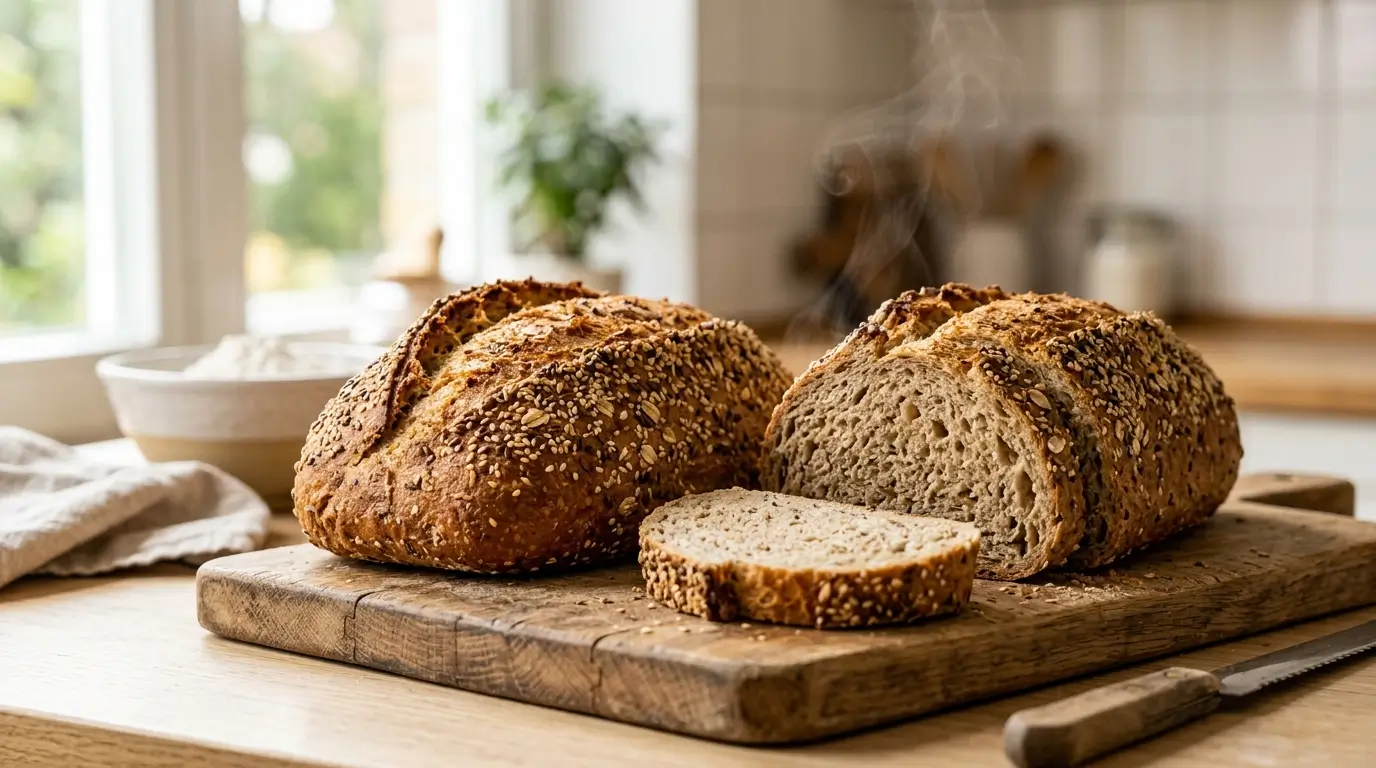
There is nothing quite like the smell of fresh homemade bread filling your kitchen, and this whole wheat bread recipe delivers that experience with the most satisfying, wholesome loaf you’ll ever slice.
Soft enough for sandwiches, hearty enough to stand up to toast, and naturally sweetened with honey — this is the kind of bread that makes store-bought loaves feel completely unnecessary. It’s made with simple pantry ingredients, requires no fancy equipment, and produces two beautiful golden loaves every single time.
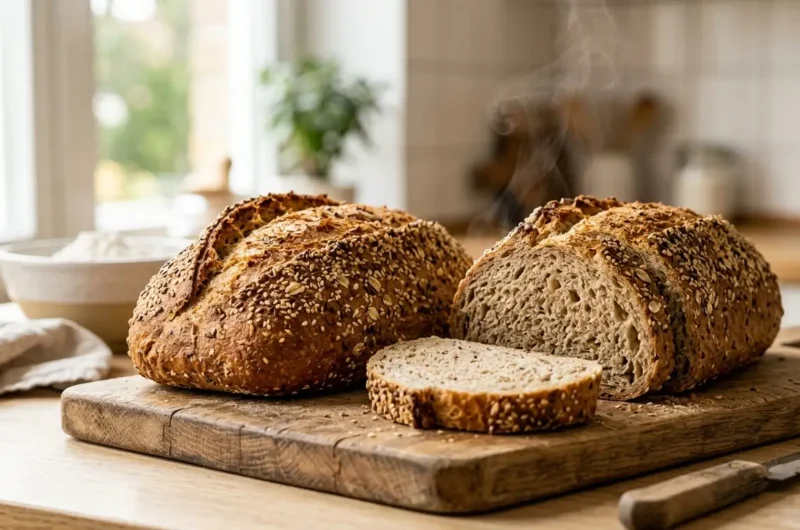
Whole wheat flour gives this bread a deeper, nuttier flavor than white bread, along with more fiber, more nutrients, and a heartier texture that holds up perfectly for sandwiches, toast, and everything in between.
Whether you’re new to bread baking or a seasoned home baker, this recipe is straightforward, reliable, and absolutely delicious from the very first loaf.
Ready to fill your kitchen with the best smell in the world? Let’s bake.
Table of Contents
Why You’ll Love This Whole Wheat Bread Recipe
Soft and fluffy. Not dense and heavy like some whole wheat breads — this loaf is genuinely soft and light.
Naturally sweetened with honey. No refined sugar — just a touch of honey that feeds the yeast and adds a subtle warmth to the flavor.
Two loaves from one batch. Make two loaves at once — eat one now, freeze one for later.
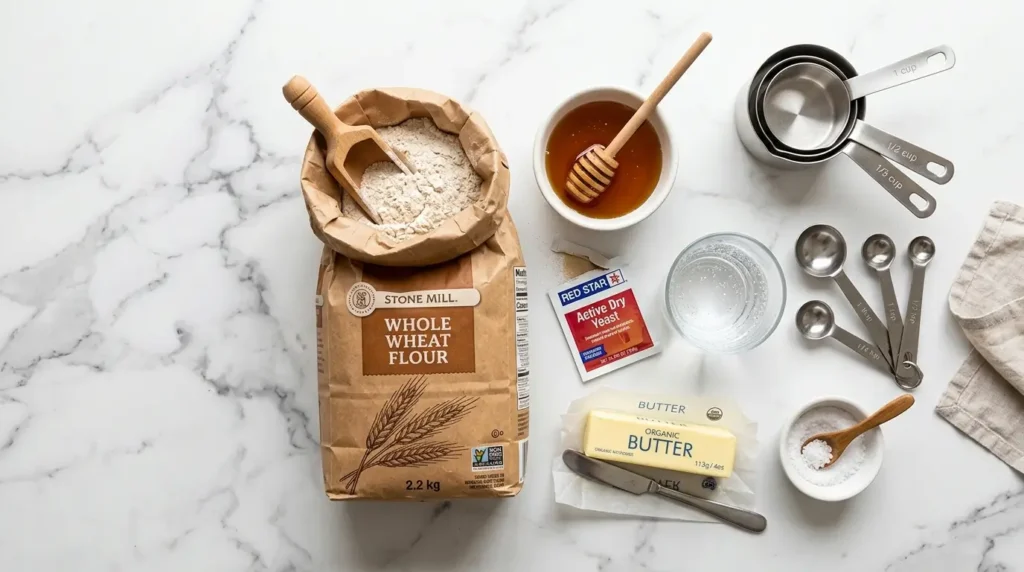
Simple ingredients. Whole wheat flour, yeast, honey, butter, salt, and water — that’s it.
Better than store-bought. No preservatives, no additives, just real bread made with real ingredients.
Beginner-friendly. Step-by-step instructions that take you through every stage with confidence.
What Makes Whole Wheat Bread Different?
Whole wheat flour is made from the entire wheat kernel — the bran, germ, and endosperm — while white all-purpose flour uses only the endosperm. This means whole wheat flour has more fiber, more vitamins and minerals, and a deeper, nuttier, more complex flavor.
The trade-off is that whole wheat bread can sometimes turn out dense and heavy if not made correctly. The secret to a soft, light whole wheat loaf is using the right ratio of flour to liquid, adding honey to feed the yeast, and not overloading with too much flour during kneading.
Follow this recipe carefully and you’ll get a loaf that’s soft, light, and everything homemade bread should be.
Understanding the difference between whole wheat and white flour helps you make better decisions in all your baking. King Arthur Baking’s complete guide to substituting whole wheat for white flour explains how to use whole wheat successfully in any recipe and why hydration and resting time matter so much.
Whole Wheat Bread Recipe
Whole Wheat Bread Recipe – Soft, Hearty & Homemade
Course: Bread, Breakfast, LunchCuisine: AmericanDifficulty: Medium2
loaves20
minutes1
hour30
minutes120
kcal1
hour50
minutesThis soft, hearty whole wheat bread recipe uses whole wheat flour, honey, butter, and yeast for two beautiful homemade loaves perfect for sandwiches, toast, and everyday eating.
Ingredients
2½ cups (590ml) warm water (110°F / 43°C)
¼ cup (85g) honey
1½ tablespoons active dry yeast (or 2 packets)
5½ to 6 cups (660–720g) whole wheat flour, divided
2 tablespoons olive oil or melted unsalted butter
1 tablespoon fine salt
Optional: 1 tablespoon sesame seeds, oats, or sunflower seeds for topping
Directions
- Step 1: Activate the Yeast
In a large bowl or the bowl of a stand mixer, combine the warm water and honey. Stir gently until the honey dissolves. Sprinkle the yeast over the top and let it sit for 5–10 minutes until it becomes foamy and bubbly. If the yeast doesn’t foam, it may be expired — start over with fresh yeast. - Step 2: Mix the Dough
Add the olive oil and salt to the yeast mixture. Add 4 cups of whole wheat flour and stir with a wooden spoon or dough hook until a shaggy dough forms. Continue adding flour ½ cup at a time, mixing after each addition, until the dough pulls away cleanly from the sides of the bowl. You may not need all the flour — stop adding when the dough is soft but not sticky. - Step 3: Knead
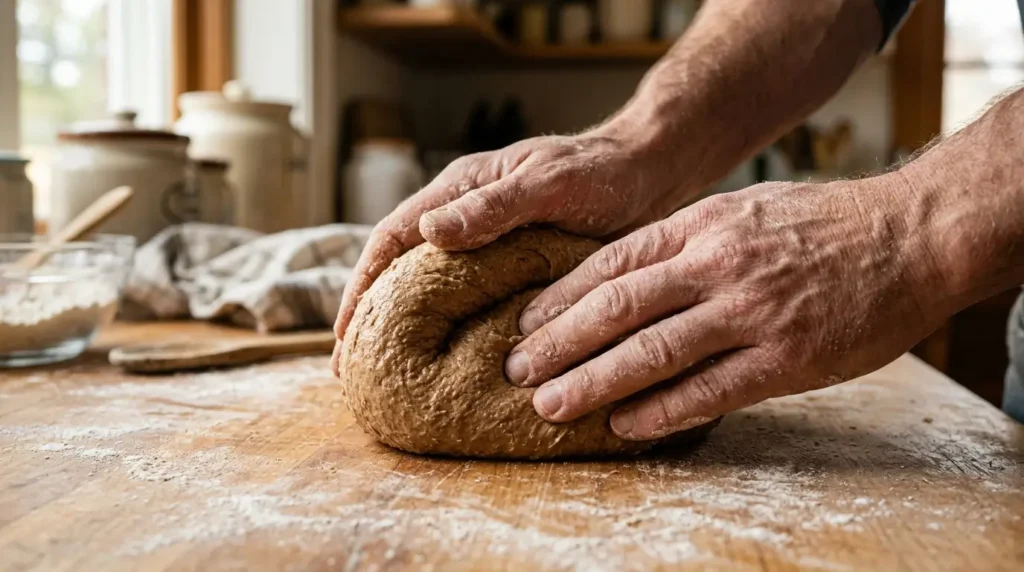
Turn the dough out onto a lightly floured surface. Knead by hand for 8–10 minutes until the dough is smooth, elastic, and springs back when poked with a finger. Alternatively, use a stand mixer with a dough hook on medium speed for 6–7 minutes. The dough should feel soft and slightly tacky but not sticky. - Step 4: First Rise
Shape the dough into a ball and place it in a lightly oiled bowl. Turn the dough to coat all sides with oil. Cover the bowl tightly with plastic wrap or a damp kitchen towel. Place in a warm spot and let rise for 1 hour until doubled in size. - Step 5: Shape the Loaves
Punch the dough down gently to release the air. Turn it out onto a lightly floured surface and divide into two equal pieces. Shape each piece into a loaf by flattening it into a rectangle and rolling it tightly from one short end to the other. Pinch the seam closed. Place each loaf seam-side down into a greased 9×5 inch loaf pan. - Step 6: Second Rise
Cover the pans loosely with oiled plastic wrap or a clean kitchen towel. Let the loaves rise in a warm spot for 30–45 minutes until they have domed about 1 inch above the rim of the pan. - Step 7: Preheat the Oven
While the loaves are in their second rise, preheat the oven to 350°F (175°C). - Step 8: Optional Topping
Before baking, brush the tops of the loaves lightly with water or a little melted butter. Sprinkle with sesame seeds, oats, or sunflower seeds if desired. - Step 9: Bake
Bake for 30–35 minutes until the tops are deep golden brown. To check doneness, remove a loaf from the pan and tap the bottom — it should sound hollow. Alternatively, an instant-read thermometer inserted into the center should read 190–200°F (88–93°C). - Step 10: Cool
Remove the loaves from the pans immediately and transfer to a wire rack. Let cool for at least 30 minutes before slicing. Slicing too early causes the interior to become gummy.
Recipe Video
Notes
- Water temperature matters. Water that’s too hot (above 120°F) will kill the yeast. Too cold and the yeast won’t activate. Aim for 110°F — it should feel comfortably warm on your wrist.
- Don’t add too much flour. The dough should feel soft and slightly tacky, not dry and stiff. Too much flour produces a dense, heavy loaf.
- The windowpane test. To check if your dough is properly kneaded, stretch a small piece between your fingers. If it stretches thin enough to see light through it without tearing, the gluten is well developed and ready to rise.
- Find a warm spot for rising. Yeast thrives between 75–80°F. A great trick is to place the covered dough in an oven with just the light on — the gentle warmth from the bulb creates the perfect environment.
- Cool completely before slicing. The bread continues to bake internally for the first 20–30 minutes after coming out of the oven. Slicing too early releases steam and creates a gummy texture.
Nutrition Information (per slice, 1/16 of one loaf)
- Calories: 120 kcal
- Carbohydrates: 22g
- Protein: 4g
- Fat: 2g
- Fiber: 3g
- Sugar: 3g
- Sodium: 220mg
Expert Tips for the Perfect Whole Wheat Loaf
1. Use Fresh Yeast
Old or expired yeast is the number one reason bread doesn’t rise. Always check the expiration date and do the foam test before committing to a full batch.
2. Don’t Skimp on Kneading
Kneading develops the gluten network that gives bread its structure and chew. Under-kneaded dough produces a dense, flat loaf. Eight full minutes by hand is the minimum — use the windowpane test to confirm readiness.
3. Measure Flour by Weight
Flour measured by volume can vary significantly based on how it’s scooped. Weighing with a kitchen scale gives you accurate, consistent results every single time.
4. Honey is Non-Negotiable
Honey does two things in this recipe — it feeds the yeast for a stronger, more active rise, and it adds a subtle sweetness that balances the nutty whole wheat flavor. Don’t substitute with plain sugar.
5. Cool on a Wire Rack
Always cool bread on a wire rack, never on a flat surface. A flat surface traps steam under the loaf and makes the bottom crust soft and soggy.
Variations to Try
100% Whole Wheat Bread — Use all whole wheat flour for the most nutritious, nuttiest flavor. The loaf will be slightly denser but deeply flavorful.
Half and Half Loaf — Use 3 cups whole wheat flour and 2–3 cups all-purpose or bread flour for a lighter, fluffier loaf with the benefits of whole wheat.
Seeded Whole Wheat Bread — Mix 2 tablespoons of sesame seeds, flax seeds, or sunflower seeds directly into the dough for added texture and nutrition.
Herbed Whole Wheat Bread — Add 1 tablespoon each of dried rosemary, thyme, and garlic powder to the dough for a savory, aromatic loaf perfect for serving with soup.
Milk Bread Variation — Replace half the water with warm whole milk for an even softer, more tender crumb.
How to Serve Whole Wheat Bread
Classic Sandwich Loaf — Slice and use for any sandwich — the hearty texture holds up perfectly to fillings without tearing.
Morning Toast — Toast a slice and top with butter and honey, avocado, or a fried egg for a wholesome breakfast.
With Soup — Thick slices of warm whole wheat bread are the perfect companion to a bowl of soup or stew.
Alongside Salads — Serve with our Waldorf Salad Recipe for a light, wholesome lunch combination.
Dipped in Olive Oil — Slice fresh from the oven and serve with extra virgin olive oil and a pinch of flaky sea salt.
As a Base for Focaccia Lovers — If you love homemade bread, try our no-knead Sourdough Focaccia Recipe next for a completely different but equally amazing baking experience.
Storage
Room temperature: Store in an airtight bag or bread box for up to 4 days. Keep away from direct sunlight and heat.
Refrigerator: Not recommended — the fridge dries out bread and accelerates staling. Room temperature or freezer is always better.
Freezer: Slice the entire loaf before freezing. Place parchment paper between slices and store in a freezer bag for up to 3 months. Pull out individual slices and toast directly from frozen.

Frequently Asked Questions
Why is my whole wheat bread dense and heavy?
The most common causes are expired yeast, too much flour added during kneading, under-kneading, or not giving the dough enough time to rise. Follow the recipe carefully and use the windowpane test to confirm proper gluten development.
Can I make this recipe without a stand mixer?
Absolutely. Knead by hand on a lightly floured surface for 8–10 minutes. It’s a great workout and gives you full control over the dough texture.
Can I use instant yeast instead of active dry yeast?
Yes! Replace active dry yeast with the same amount of instant yeast. Skip the 5-minute proofing step — just add the instant yeast directly with the flour.
Why does my bread sink in the middle after baking?
This usually means the dough over-proofed during the second rise. Watch the loaves carefully — they should dome about 1 inch above the pan rim, not more. Over-proofed dough collapses in the oven.
Can I use this dough to make rolls?
Yes! After the first rise, divide the dough into 16–18 equal pieces, shape into balls, and place in a greased baking pan. Let rise for 30 minutes and bake at 375°F (190°C) for 18–22 minutes.
How do I get a softer crust?
Brush the hot loaves with melted butter immediately after removing from the oven. This softens the crust beautifully as the bread cools.
The Bread That Changes Everything
This whole wheat bread recipe is the kind of recipe that, once you make it, makes you wonder why you ever bought bread from the store.
Two beautiful golden loaves, the most incredible smell filling your entire home, and slices so soft and flavorful that plain butter on warm bread becomes one of the best things you’ve eaten all week.
It takes patience — yeast bread always does. But the actual hands-on time is minimal, the technique is straightforward, and the reward is absolutely worth every minute.
Make it once and it will become a weekly ritual.
Made this bread? Rate it below and tell me how you served your first slice!