Let’s be honest — if you’ve ever tried making gluten-free biscuits, you’ve probably ended up with something that looked (and tasted) like a hockey puck.
We’ve all been there.
But today, my friend, that ends.
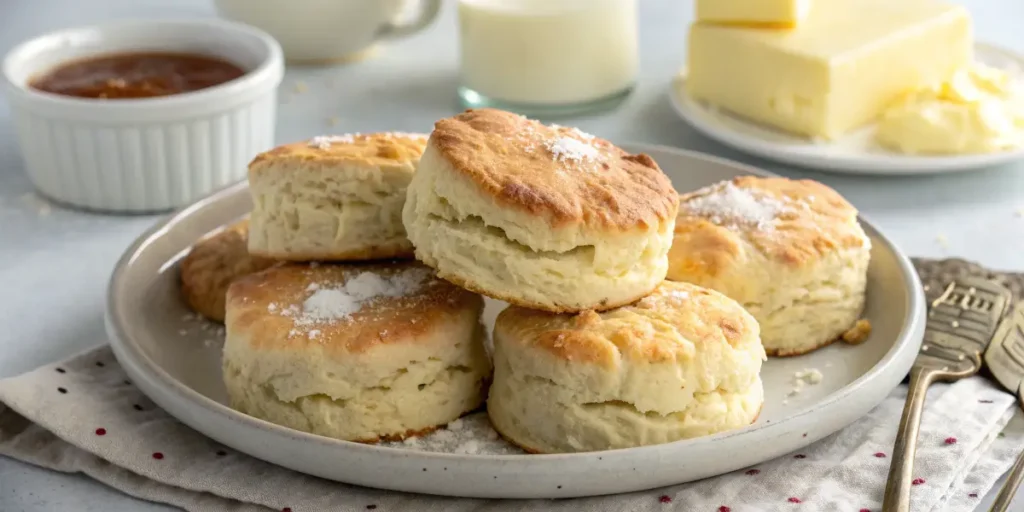
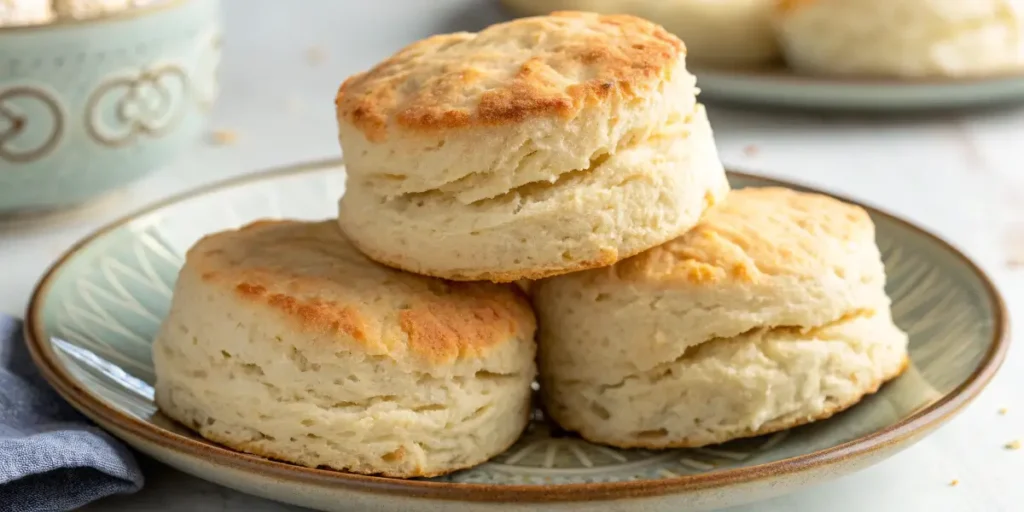
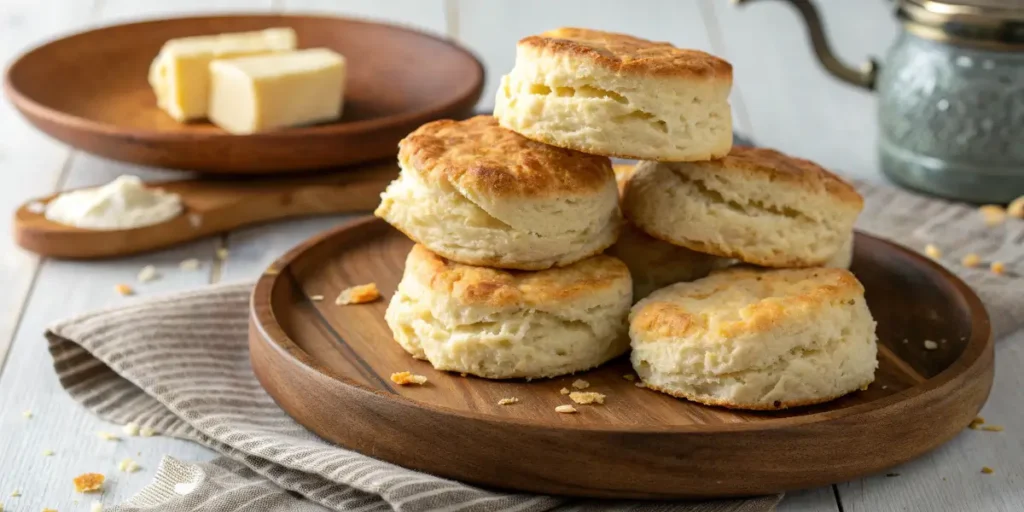
Because these Gluten-Free Buttermilk Biscuits are the real deal — light, flaky, buttery layers that actually melt in your mouth. They’re perfect for breakfast sandwiches, smothered in gravy, or eaten warm with honey (no judgment if you eat three straight from the oven).
So grab your apron and a whisk — we’re about to prove that “gluten-free” doesn’t mean “fun-free.”
Table of Contents
Why You’ll Love These Gluten-Free Buttermilk Biscuits
Gluten-free baking gets a bad rep — usually for being crumbly, dry, or flavorless.
But this recipe? None of that nonsense.
Here’s why you’ll fall in love after one bite:
- Fluffy texture: You’ll get actual layers (yes, it’s possible).
- No weird aftertaste: The buttermilk balances everything beautifully.
- Simple ingredients: Nothing fancy or hard to find.
- Customizable: Add cheese, herbs, or even garlic for a savory twist.
- Naturally golden: They brown beautifully — no sad, pale biscuits here.
And best of all? You can make the dough in under 15 minutes. That’s less time than it takes to scroll through TikTok “breakfast inspo” videos.
Let’s Talk Ingredients (a.k.a. the Building Blocks of Biscuit Magic)
Alright, before we jump straight into the bowl, let’s talk ingredients — because in gluten-free baking, the details are what make or break the recipe. These biscuits don’t need anything fancy, but each ingredient plays a role in creating that perfect combo of flaky, buttery, and soft.
So, let’s break down what you’re really working with:
1. The Flour (The Foundation)
Gluten-free baking is basically a science experiment — but don’t worry, I’ve done the messy part for you.
You’ll want a gluten-free all-purpose blend that already includes xanthan gum (it’s the magic that replaces gluten’s elasticity). Brands like King Arthur Measure-for-Measure or Bob’s Red Mill work wonders.
If your blend doesn’t include xanthan gum, add about ½ teaspoon per cup of flour — trust me, it’s worth it. Without it, you’ll end up with crumbly biscuits that fall apart faster than your willpower at a bakery.
2. The Fat (Butter, Always Butter)
Butter isn’t just for flavor — it’s the backbone of that flaky, layered texture. When those cold cubes hit the oven, they release steam that creates tiny air pockets — the same ones that make your biscuits puff up like clouds.
And please, for the love of biscuits, don’t use margarine.
Pro tip: Pop your cubed butter in the freezer for 5 minutes before mixing. You’ll get even flakier layers and less risk of melting too early.
3. The Liquid (Hello, Buttermilk!)
Buttermilk is the secret sauce of Southern baking. Its tangy acidity reacts with the baking soda to give your biscuits lift and tenderness. It also adds that subtle, creamy flavor that makes people ask, “What’s in these?!”
If you’re out of buttermilk, don’t panic — just mix ¾ cup milk with 1 tablespoon lemon juice or vinegar, let it sit for 5 minutes, and voilà — DIY buttermilk.
4. The Leavening Power
Baking powder and baking soda are your biscuit’s best friends. They’re what give that beautiful rise and fluff. But be careful — old baking powder = flat biscuits. If it’s been sitting in your pantry since 2021… yeah, time to replace it.
5. The Extras That Make It Yours
This is where you get creative. A sprinkle of sugar makes them breakfast-worthy, a handful of shredded cheddar turns them savory, and chopped herbs or garlic can make your kitchen smell like a bakery in heaven.
In short: keep it simple, keep it cold, and respect the butter. Do that, and these biscuits will reward you with layers of golden, gluten-free glory.
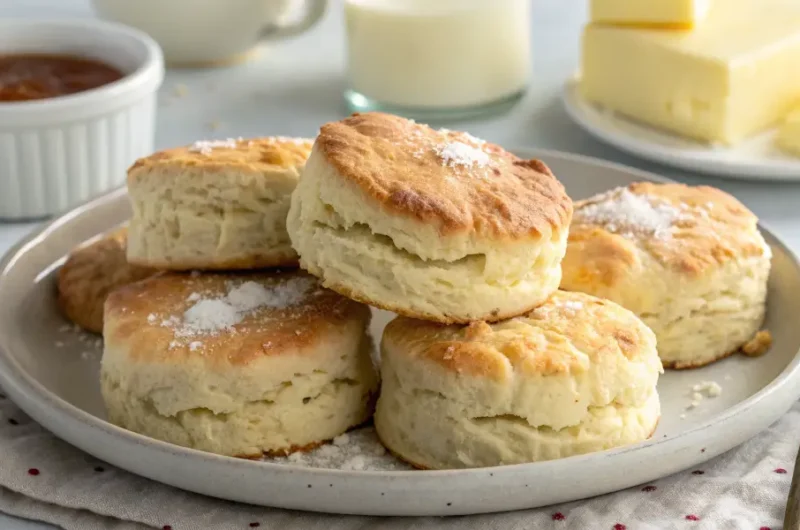
Gluten-Free Buttermilk Biscuits: Fluffy, Buttery, and Shockingly Easy
Course: BreakfastCuisine: American, SouthernDifficulty: Medium8
Biscuits15
minutes15
minutes210
kcal30
minutesFluffy, buttery, golden biscuits made completely gluten-free! These buttermilk biscuits are crisp on the outside, tender inside, and absolutely foolproof.
Ingredients
– 2 cups gluten-free all-purpose flour blend (with xanthan gum)
– 1 tbsp baking powder
– ½ tsp baking soda
– 1 tsp salt
– 1 tbsp sugar (optional)
– ½ cup cold unsalted butter, cubed
– ¾ cup cold buttermilk (plus more for brushing)
– 1 tsp apple cider vinegar
– Optional: ½ cup shredded cheddar, 2 tbsp chopped herbs
Directions
- Preheat oven to 425°F (220°C). Line a baking sheet with parchment paper.
- In a large bowl, whisk flour, baking powder, baking soda, salt, and sugar.
- Cut in cold butter until mixture resembles coarse crumbs.
- Stir in buttermilk and vinegar just until dough comes together. Don’t overmix.
- Turn dough onto a floured surface, fold 3–4 times, and pat to 1-inch thick.
- Cut out biscuits and place close together on baking sheet.
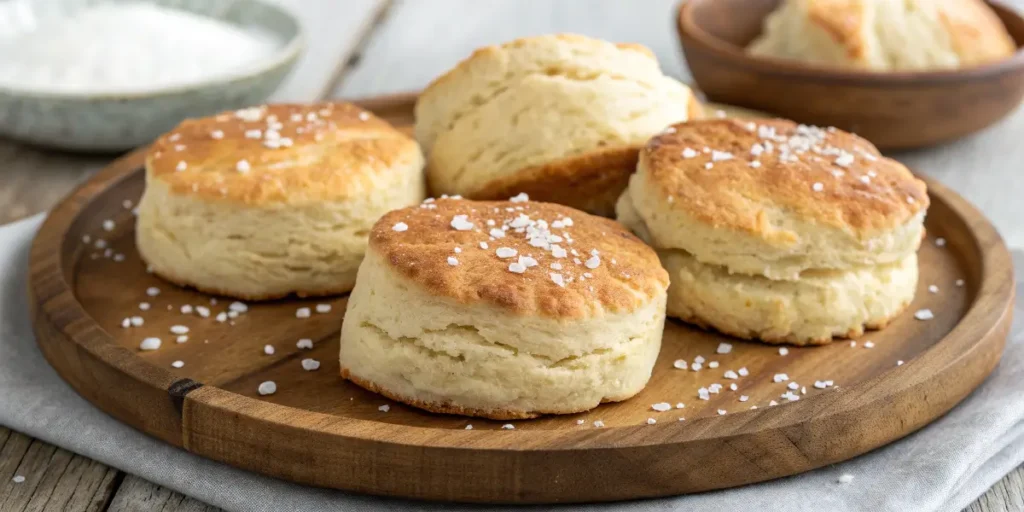
- Brush tops with buttermilk and bake 12–15 minutes, until golden brown.
- Brush with melted butter and serve warm.
Recipe Video
Notes
- Keep ingredients cold for maximum flakiness.
- Use a gluten-free flour blend with xanthan gum for best structure.
- Reheat in the oven, not the microwave, for that fresh-baked crispness.
Step-by-Step Directions
Step 1: Preheat and Prepare
Preheat your oven to 425°F (220°C). Line a baking sheet with parchment paper and lightly dust it with gluten-free flour.
Step 2: Mix the Dry Ingredients
In a large bowl, whisk together the flour, baking powder, baking soda, salt, and sugar.
(Pro tip: whisking helps aerate the flour — think fluffier biscuits, not dense little rocks.)
Step 3: Cut in the Butter
Add the cold cubed butter into the flour mix. Use a pastry cutter or your fingers to mix until it looks like coarse crumbs — small, pea-sized bits are perfect.
Cold butter = flaky biscuits. Always.
Step 4: Add the Buttermilk
Pour in the buttermilk and apple cider vinegar. Stir gently with a fork until the dough just comes together. Don’t overmix — gluten-free dough is delicate. If it looks shaggy, that’s good!
Step 5: Shape and Cut
Lightly flour your surface and gently pat the dough into a 1-inch-thick rectangle. Fold it in half, turn it, and flatten again — do this 3–4 times to create layers.
Cut out biscuits using a round cutter or glass (about 2½ inches wide).
Step 6: Bake to Golden Glory
Place biscuits close together (touching slightly) on your baking sheet — this helps them rise higher.
Brush the tops with buttermilk for a golden crust, then bake for 12–15 minutes until puffed and golden brown.
Step 7: Butter. Always Butter.
Brush freshly baked biscuits with melted butter while still warm. The smell alone is heavenly.
Pro Tips for the Best Gluten-Free Buttermilk Biscuits
You know the difference between “eh” biscuits and amazing biscuits? It’s all in the details.
1. Keep Everything Cold
Cold butter and cold buttermilk are your BFFs. The butter melts in the oven, creating steam pockets — aka, those fluffy, buttery layers. If your kitchen’s warm, pop the dough in the fridge for 10 minutes before baking.
2. Don’t Overmix
When you mix gluten-free dough too much, it turns sticky and tough. Stir just until it comes together. It should look a little messy — messy dough = tender biscuits.
3. Choose the Right Flour
Not all gluten-free blends are created equal. Use one with xanthan gum or guar gum for the best structure. Bob’s Red Mill or King Arthur Measure-for-Measure are solid picks.
4. Bake Close Together
Place biscuits so they’re almost touching. They’ll rise higher and stay soft inside while getting beautifully crisp on top.
5. Flavor Boosts
- For a sweet breakfast version: add cinnamon and drizzle with honey.
- For savory perfection: mix in shredded cheese, garlic powder, or herbs.
- And if you’re feeling fancy? Brush with garlic butter when they come out of the oven.
Storage & Reheating Tips
These biscuits taste best fresh, but let’s be honest — you’ll want to keep a few for later.
Storing
- Keep at room temperature for up to 2 days, wrapped tightly or in an airtight container.
- Refrigerate for up to 5 days.
Freezing
They freeze beautifully! Once cooled, store in a freezer-safe bag for up to 2 months. To reheat, don’t thaw — just pop them in a 350°F (175°C) oven for 8–10 minutes.
Reheating
Microwaving? Only if you’re desperate. It makes them soft, not flaky. The oven or air fryer is your best friend here — it revives that crispy top and warm, buttery inside.
Pro Tip: Brush reheated biscuits with a little butter or honey to bring back that just-baked glow.
Common Mistakes to Avoid
Even the best bakers mess up biscuits. Don’t worry — I’ve made every mistake so you don’t have to.
1. Warm Butter = Flat Biscuits
If your butter melts before baking, your biscuits won’t rise. Always keep it cold and solid. If you think it’s too soft, toss the dough in the fridge for 10 minutes before baking.
2. Overworking the Dough
Gluten-free dough doesn’t like being handled. Mix lightly, pat gently, and cut once. The less you fuss, the fluffier they’ll be.
3. Skipping the Buttermilk
Buttermilk isn’t just for flavor — its acidity helps the biscuits rise and stay tender. If you don’t have any, make your own: ¾ cup milk + 1 tbsp lemon juice or vinegar. Let it sit for 5 minutes, and you’re good.
4. Using the Wrong Flour Blend
All-purpose gluten-free flour blends differ wildly. Some soak up more liquid than others. Always start with a trusted blend and adjust slightly if needed.
5. Not Baking Long Enough
Undercooked biscuits taste doughy in the center. Wait until the tops are fully golden and the sides firm up — that’s your sign they’re ready.
How to Serve Gluten-Free Biscuits
These babies are so versatile — here are some delicious ways to enjoy them:
- Classic breakfast: Split open and add butter and jam.
- Savory sandwich: Layer with eggs, beef, and cheese.
- Southern-style: Smother with sausage gravy (yes, please).
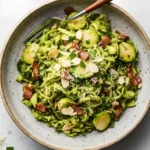
- Dinner rolls: Serve alongside soups, chili, or roast chicken. Or brighten your plate with a crisp, veggie-packed side like our Shredded Brussels Sprouts — their garlicky crunch makes a perfect contrast to soft, warm biscuits.
- Sweet treat: Drizzle with honey and a sprinkle of cinnamon. (Pro tip: Warm biscuits + a little leftover honey glaze from the turkey recipe = pure comfort.)
Want to know more about gluten-free baking science (why flours behave differently and how to perfect textures)? Check out this helpful Healthline guide on gluten-free flours.
Final Thoughts
Who says gluten-free can’t be good? These biscuits are proof that you can skip the gluten and keep all the comfort.
They’re soft inside, golden outside, and practically begging for butter.
So the next time someone says “gluten-free baking is hard,” just hand them one of these warm biscuits and smile. They’ll understand.